Breathing Life Back into TI-83 Calculators Through Soldering
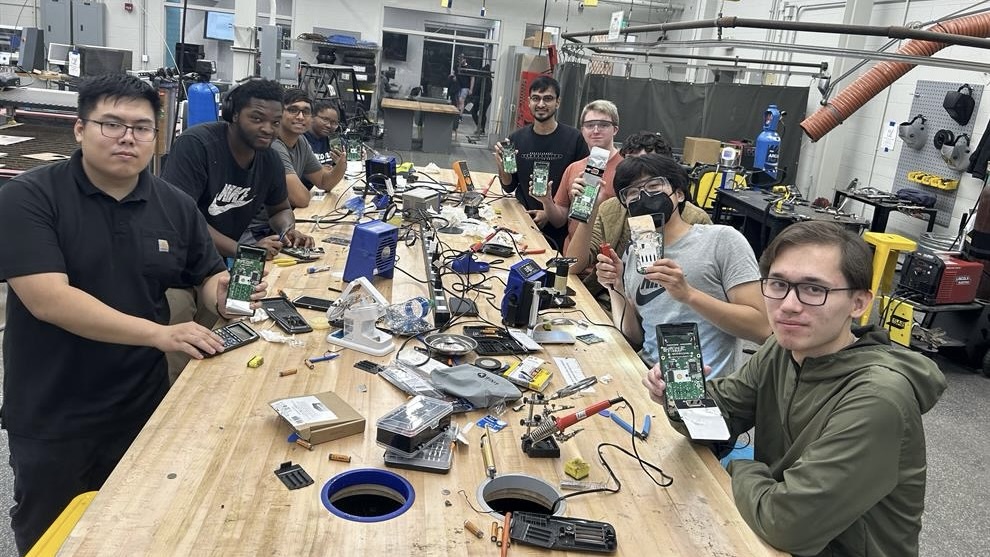
One chilly Friday evening on October 27, 2023, I found myself at the Design Studio of Purdue University Northwest, embarking on a thrilling soldering adventure. Led by an IEEE president experienced instructor, Anhviet Le, we were in for a day filled with learning, hands-on experience, and the satisfaction of making things work. Little did I know that my introduction to soldering would prove to be both fun and enlightening.
The Setup
The design studio was a veritable paradise for DIY enthusiasts like myself. With multiple solder stations, heat sinks, power cords, safety glasses, masks, and an atmosphere brimming with creative energy, I couldn’t have asked for a better setting to dive into the world of soldering.
First Steps
I was handed a TI-83 calculator from Texas Instruments, and the task was clear: it had screen issues that needed fixing. These calculators either had non-working screens, display glitches, or were completely blacked out. I had never used a solder station before, but it turned out to be simpler and quicker than I had imagined. As I worked, I couldn’t help but think that having a solder station at home might be a great idea for future projects.
The First Fix
I began by testing the calculator, and it seemed to have a faded screen. After carefully removing the screws and the backcase, I used a multimeter to check for continuity issues. It didn’t take long to identify a broken connection. With a bit of heat, I exposed the copper beneath the plastic connection and soldered a wire to bridge the gap. It was a straightforward fix that took surprisingly little time.
Taking on a Bigger Challenge

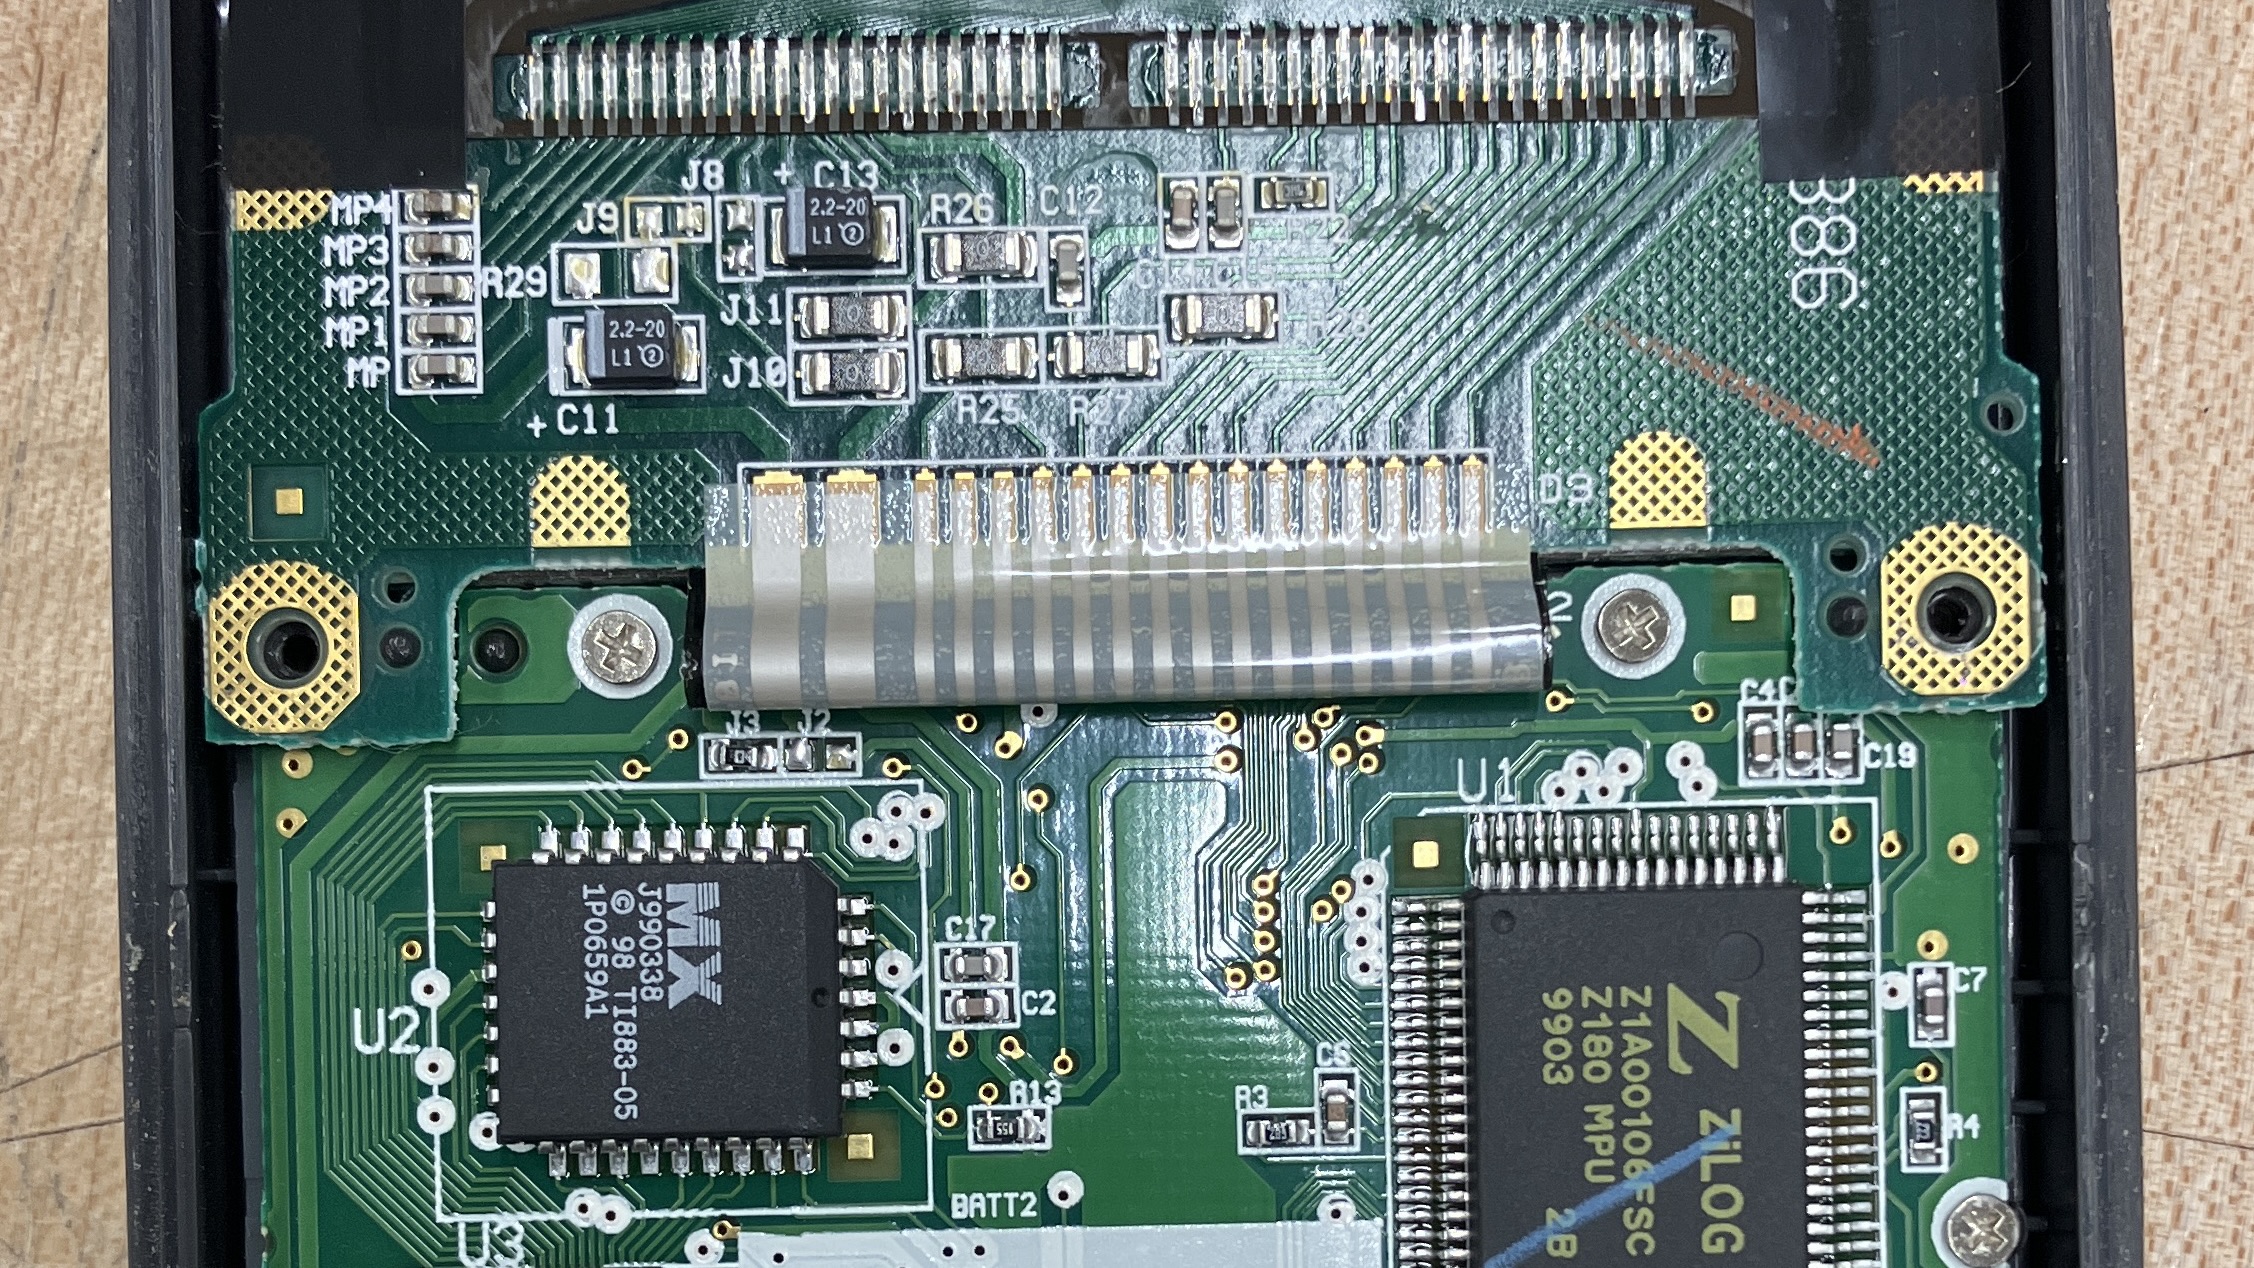
With my newfound confidence, I decided to tackle a more significant challenge. Another TI-83 calculator was presented, but this one wasn’t working at all. When powered on, it displayed a black screen with a single straight line and showed no cursor. I suspected a problem with the display connection. After unscrewing and opening the backcase, I used the multimeter again and discovered that eight out of the fifteen pins had no connections.
A Small Mishap
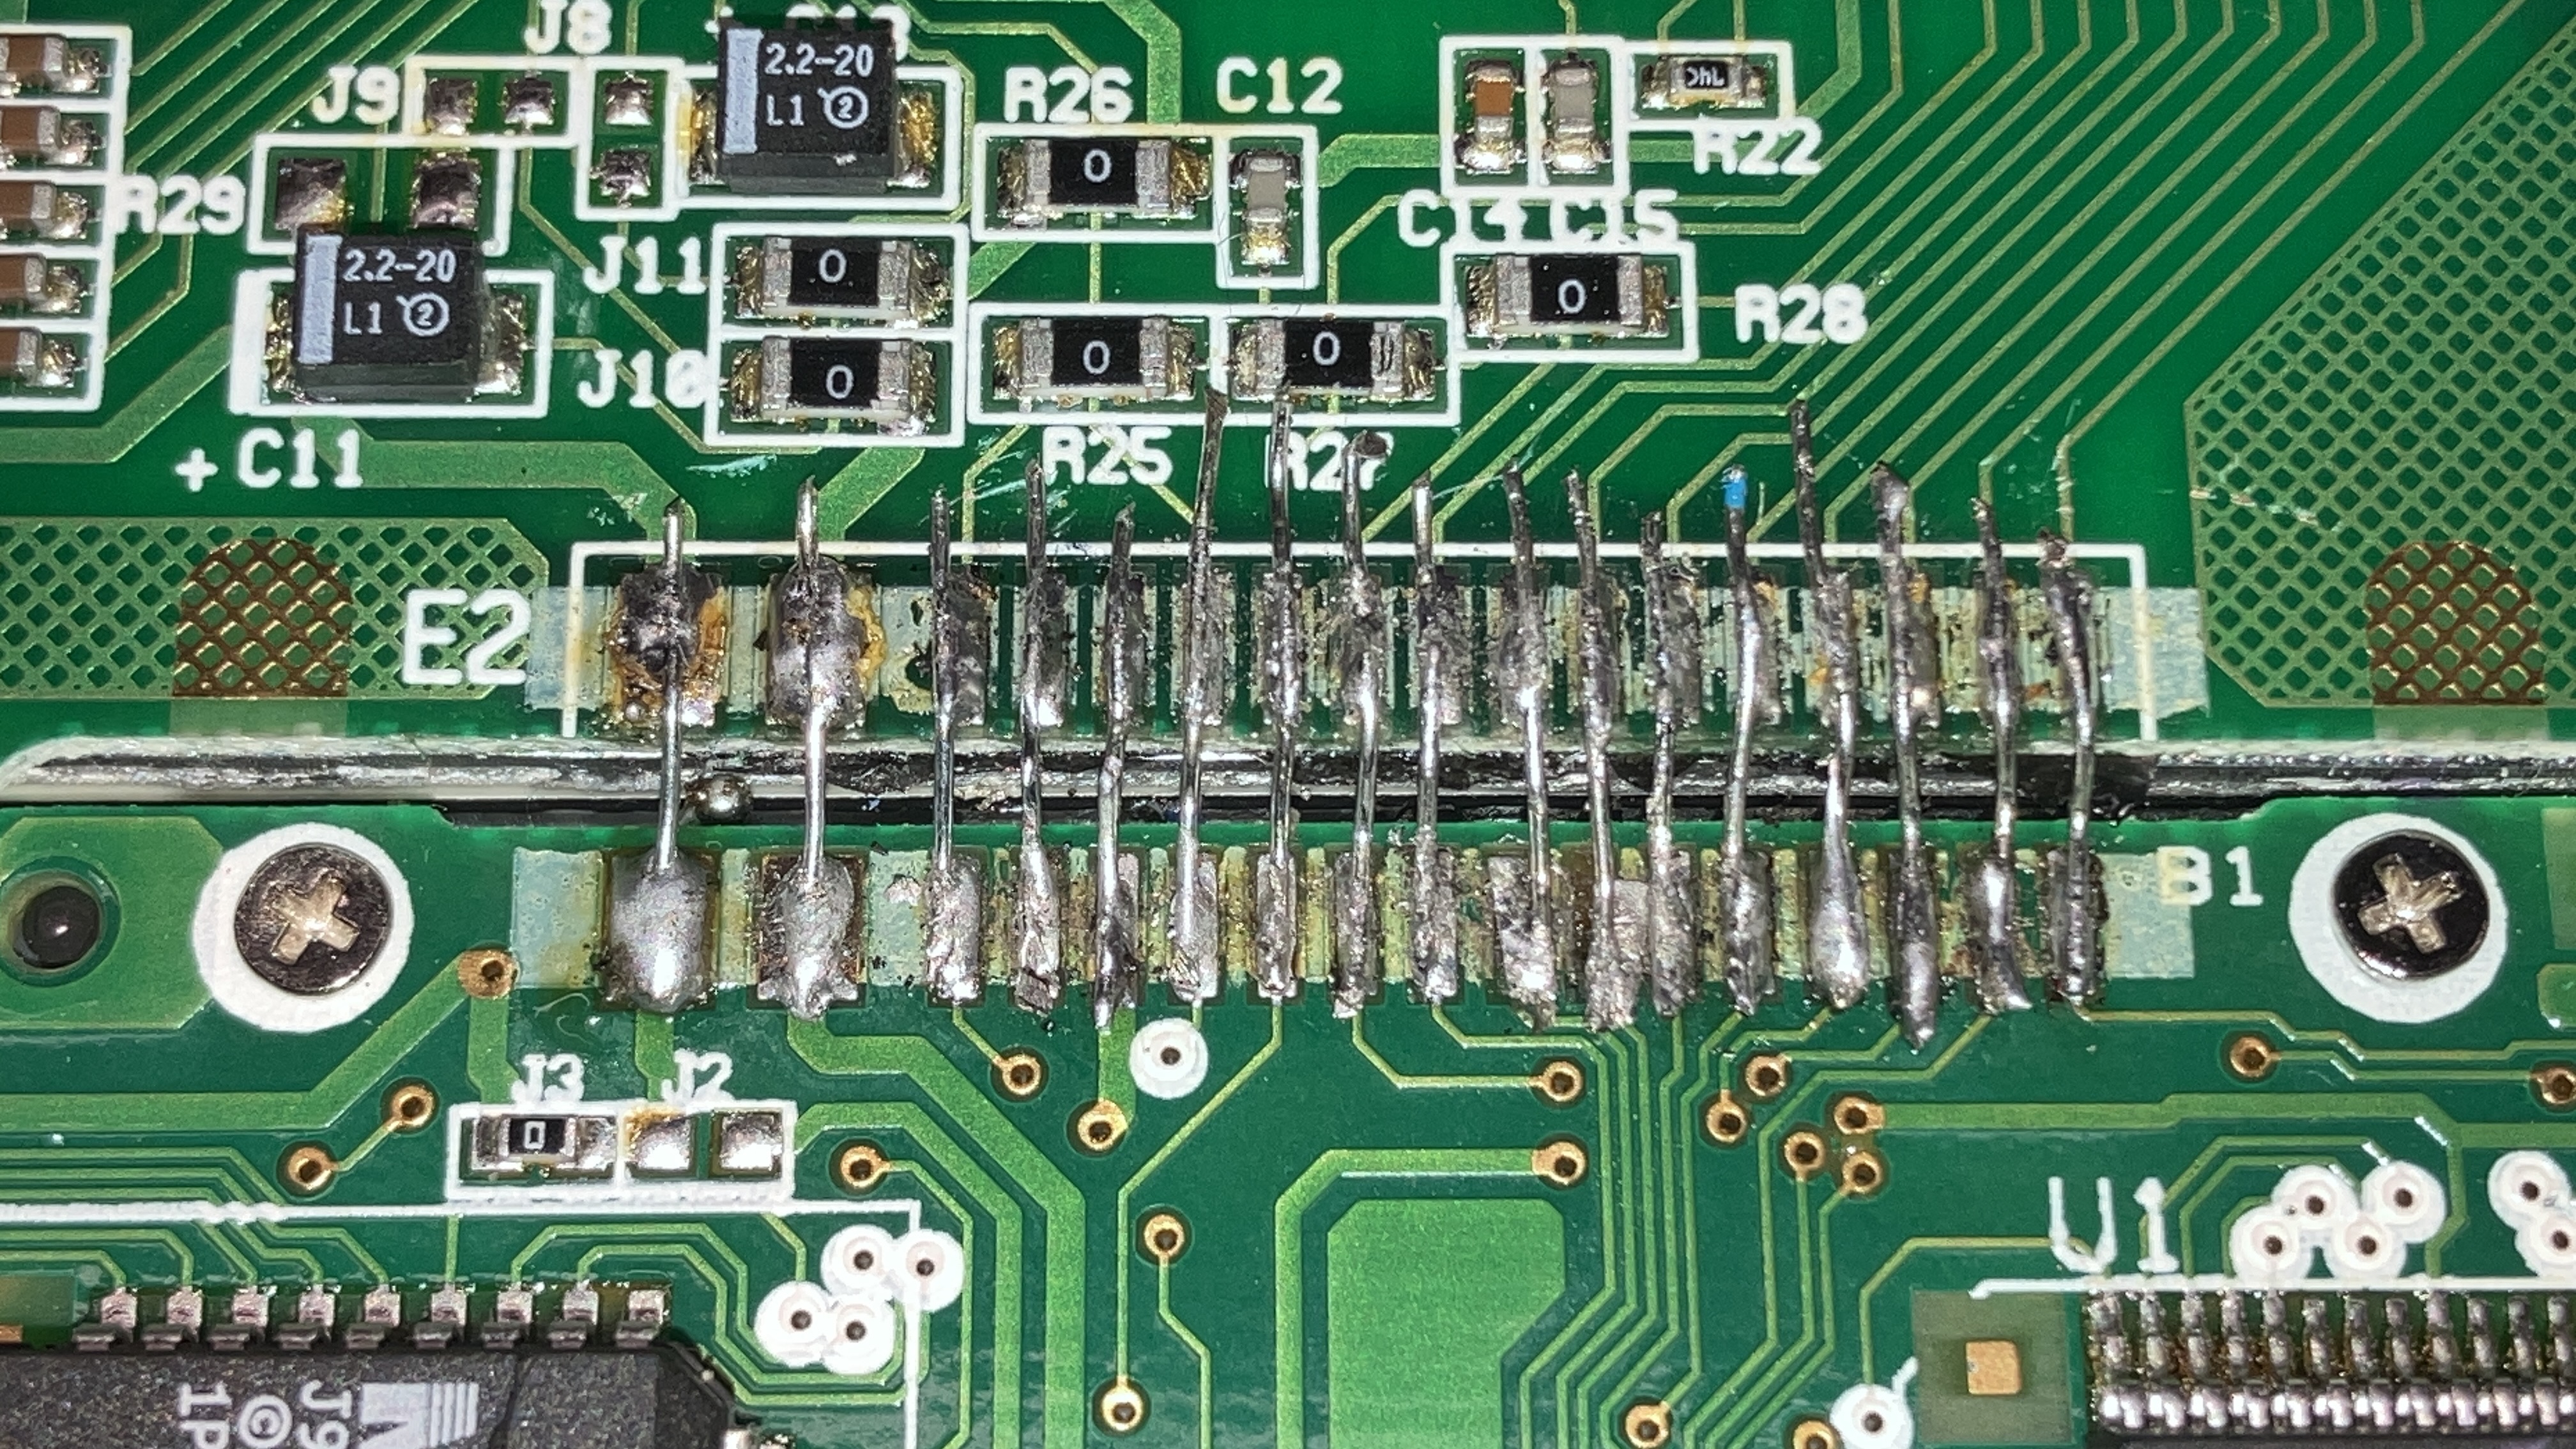
Determined to solve the issue, I decided to remove the plastic strap connection and solder the entire copper pins. However, in my eagerness, I accidentally burnt the display’s plastic polarized filter. At this point, I thought I had messed up and lost hope that the calculator could be salvaged.
A Creative Solution
Not giving up, I removed the burnt screen and continued. I carefully applied flux to the copper traces and soldered them back together. I cut a wire to fit the length of the display and soldered it from the resistor to the other end of the board. The rest of the circuit followed the same process, with each copper trace being soldered to its respective connection.
Success
With bated breath, I inserted four AAA batteries and held the case tightly. Turning it on, I was initially disappointed when nothing appeared on the screen. But then it struck me that the issue might be the display itself. I borrowed a thin polarized screen from another damaged calculator and placed it over the display. Upon turning it on again, I was overjoyed to see the cursor and realized that my fix had worked. After reassembling the calculator, it functioned like a brand new TI-83, and I couldn’t have been happier with the result.

My day at the soldering project was not only fun and exciting but also incredibly educational. I learned valuable skills and gained a newfound appreciation for the art of soldering. It was an experience that left me eager to take on more DIY projects and explore the world of electronics with renewed enthusiasm. Whether you’re a seasoned soldering pro or a novice like me, there’s always something new to discover in this fascinating realm of hands-on creation